If you’re searching “street legal electric dirt bike,” you’re probably trying to solve one of two problems: you want to connect trails with short road sections, or you want one bike that can handle off-road weekends and occasional pavement errands. The good news is that many riders can convert an electric dirt bike street legal with the right parts and the right paperwork.
The honest reality is this: street legality is rarely limited by “does it have lights?” Street legality is usually limited by documentation, inspections, and state-specific requirements. This post lays out a practical, real-world checklist so you can plan the conversion the right way, avoid wasting money, and show up to inspection ready.
First, the honest answer: sometimes yes, sometimes no
Why street legality depends on state rules and the bike’s paperwork
Street-legal requirements vary by state, and sometimes by county. Some states make dual-sport conversions straightforward. Others are strict about what can be registered if the bike was originally sold as off-road only.
That’s why the first step is not buying lights. The first step is confirming you can actually register the bike you have, or the bike you plan to buy.
The difference between “has lights” and “can be registered”
An electric dirt bike with lights can still be impossible to register if the paperwork does not support it. Many riders get stuck here. They install parts, wire everything cleanly, and then learn the DMV won’t issue a plate because the bike’s documentation or classification blocks it.
If you take only one thing from this guide, make it this: paperwork first.
Step 1: Confirm the paperwork before buying parts
What to check: VIN, MSO, and what your DMV usually wants
Before purchasing conversion parts, gather the basics:
-
VIN: confirm it’s present, readable, and matches your documents.
-
MSO or MCO (manufacturer’s statement or certificate of origin): this is the document that often determines whether the bike was sold as off-road only or as a motorcycle that can be titled.
-
Bill of sale: ensure it matches the VIN and buyer/seller details.
-
Previous title (if applicable): if the bike has already been titled and plated in your state, the path is usually easier.
If you’re buying a bike, ask for clear photos of the VIN and every page of paperwork before money changes hands.
Why off-road-only documentation can stop the process
When a bike is sold strictly as off-road, the paperwork may indicate “off-road use only,” “not for highway use,” or similar language. Some DMVs will not convert that classification no matter how many street parts you add.
If you’re unsure, call or visit your DMV and ask what they require to title and register an off-road motorcycle conversion in your state. This is the step that prevents dead ends.
Step 2: The practical street-legal equipment checklist
This is the stuff most riders think about first, and it’s important. The list below covers what’s commonly required, plus the items that inspectors often look for.
Headlight (high and low beam)
A working headlight is a core requirement for street use. In many states, inspectors will expect:
-
a steady beam that can be aimed properly
-
a high/low function (or a DOT-approved unit depending on local rules)
-
a handlebar control switch that’s easy to use
Tail light and brake light switches
Most inspections will require a tail light and a brake light that activates from at least one brake, and often both:
-
rear brake switch
-
front brake switch
If you’re doing this conversion seriously, wiring both brake switches is a smart move because it reduces inspection risk and improves safety.
Turn signals (when required)
Some states require turn signals, some don’t, and some require them only for certain model years. If your state requires signals, plan for:
-
front and rear indicators
-
a handlebar switch
-
a relay or controller compatible with your lighting setup
Even where signals are not required, many riders still add them because they make short road links safer and reduce confusion in traffic.
Mirrors
Most states require at least one mirror, many require two. Mirrors matter because inspections often include them, and they matter because drivers do not expect an off-road bike to move like a street motorcycle.
A practical mirror setup should be:
-
stable at speed
-
positioned for real visibility, not just compliance
-
foldable or protected if the bike still sees trail use
Horn
A horn is required in many areas and usually needs to be audible at typical street distances. This is a common inspection fail if the horn is too quiet or intermittently wired.
License plate mount and plate light
A plate mount needs to be solid, and many states require the plate to be illuminated. That means:
-
a secure bracket that won’t crack off-road
-
a plate light that turns on with the running lights
Reflectors and visibility basics
Reflectors are often required, and they are easy to forget. Even when not required, they’re a low-effort safety upgrade for street connections.
Speedometer and indicators (when required)
Some states require a speedometer and sometimes an odometer. If required, verify:
-
speed display is readable day and night
-
wiring is stable and protected
-
the unit is calibrated close enough for accuracy
Step 3: Tires, brakes, and road-safe setup basics
This is where riders can “pass inspection” but still end up with a bike that feels sketchy on pavement. Street use is different. Traction, braking, and stability have to be treated seriously.
DOT tires and why they matter
Many states require DOT-approved tires for on-road registration. Even if not explicitly required, DOT tires are often safer for pavement behavior and heat handling.
If your goal is mixed use, your tire decision becomes a tradeoff:
-
aggressive off-road knobs are great in dirt, but can feel vague, noisy, or unstable on pavement
-
more dual-sport-oriented tires improve pavement stability, but may give up bite in deep loose conditions
The right answer depends on how much pavement you actually ride.
Braking feel and stopping distance mindset
Off-road braking and street braking are not the same. Pavement traction can be higher, which means more braking force is possible, but the consequences of locking up or grabbing brake mid-corner can be worse.
For a street conversion, make sure:
-
pads are fresh and bedded in
-
rotors are clean and true
-
the brake lever feel is consistent and predictable
-
the bike stays stable under braking
Gearing and stability for pavement
Some off-road gearing feels “busy” on the street, with the bike revving high and feeling twitchy at road speed. If you’ll be riding longer pavement sections, consider whether gearing needs to calm the bike down.
This is also a good time to double-check:
-
chain alignment and tension
-
fastener torque on key points
-
steering head bearings and wheel bearings
At higher street speeds, small mechanical issues become big safety issues.
Step 4: The inspection and registration process
Every state is different, but the workflow tends to follow the same pattern.
What inspections usually look for
Most inspections focus on:
-
working lights (headlight, tail, brake light, turn signals if required)
-
mirrors
-
horn
-
tires
-
plate mount and plate light
-
basic roadworthiness (brakes, sometimes steering and suspension checks)
Some areas also check:
-
VIN verification
-
equipment compliance based on the bike’s classification
-
insurance documentation
Insurance, registration, and plate workflow
A practical order that often keeps things smooth is:
-
confirm paperwork is eligible
-
complete the conversion equipment
-
schedule any required inspections
-
secure insurance if your state requires it before issuing plates
-
submit DMV paperwork, fees, and inspection results
-
get plate and registration, then confirm what’s required to stay compliant
Common failure points and how to avoid re-checks
These are the most common conversion mistakes that lead to re-inspections:
-
brake light only activates from one lever when both are expected
-
turn signals wired incorrectly or flash too fast/slow
-
headlight beam is weak or not aimed properly
-
plate mount shakes loose or plate light doesn’t work reliably
-
tires are not DOT when required
-
paperwork classification blocks the process
If you’re building this bike to be reliable, treat the wiring like it’s going on a commuter motorcycle, not a weekend toy.
Step 5: Reality checks for riders
Where street legal use makes sense, and where it doesn’t
The best use case for a street-legal conversion is connecting trail systems, accessing gas or food stops, and making short road transitions without trailering.
If the plan is frequent highway miles, be realistic. Many off-road platforms are not built for extended high-speed pavement use, and comfort, stability, and tire wear can become problems quickly.
Range expectations when riding on road
Road riding can drain battery faster than riders expect, especially at steady higher speeds. If street use is part of your plan, assume range will vary and build a buffer into your route planning.
Liability and safe riding habits
Street riding increases exposure to drivers who are distracted, impatient, or unfamiliar with off-road-style bikes. Treat visibility and predictability as performance features:
-
use clear lighting
-
signal early
-
keep mirrors functional
-
ride defensively
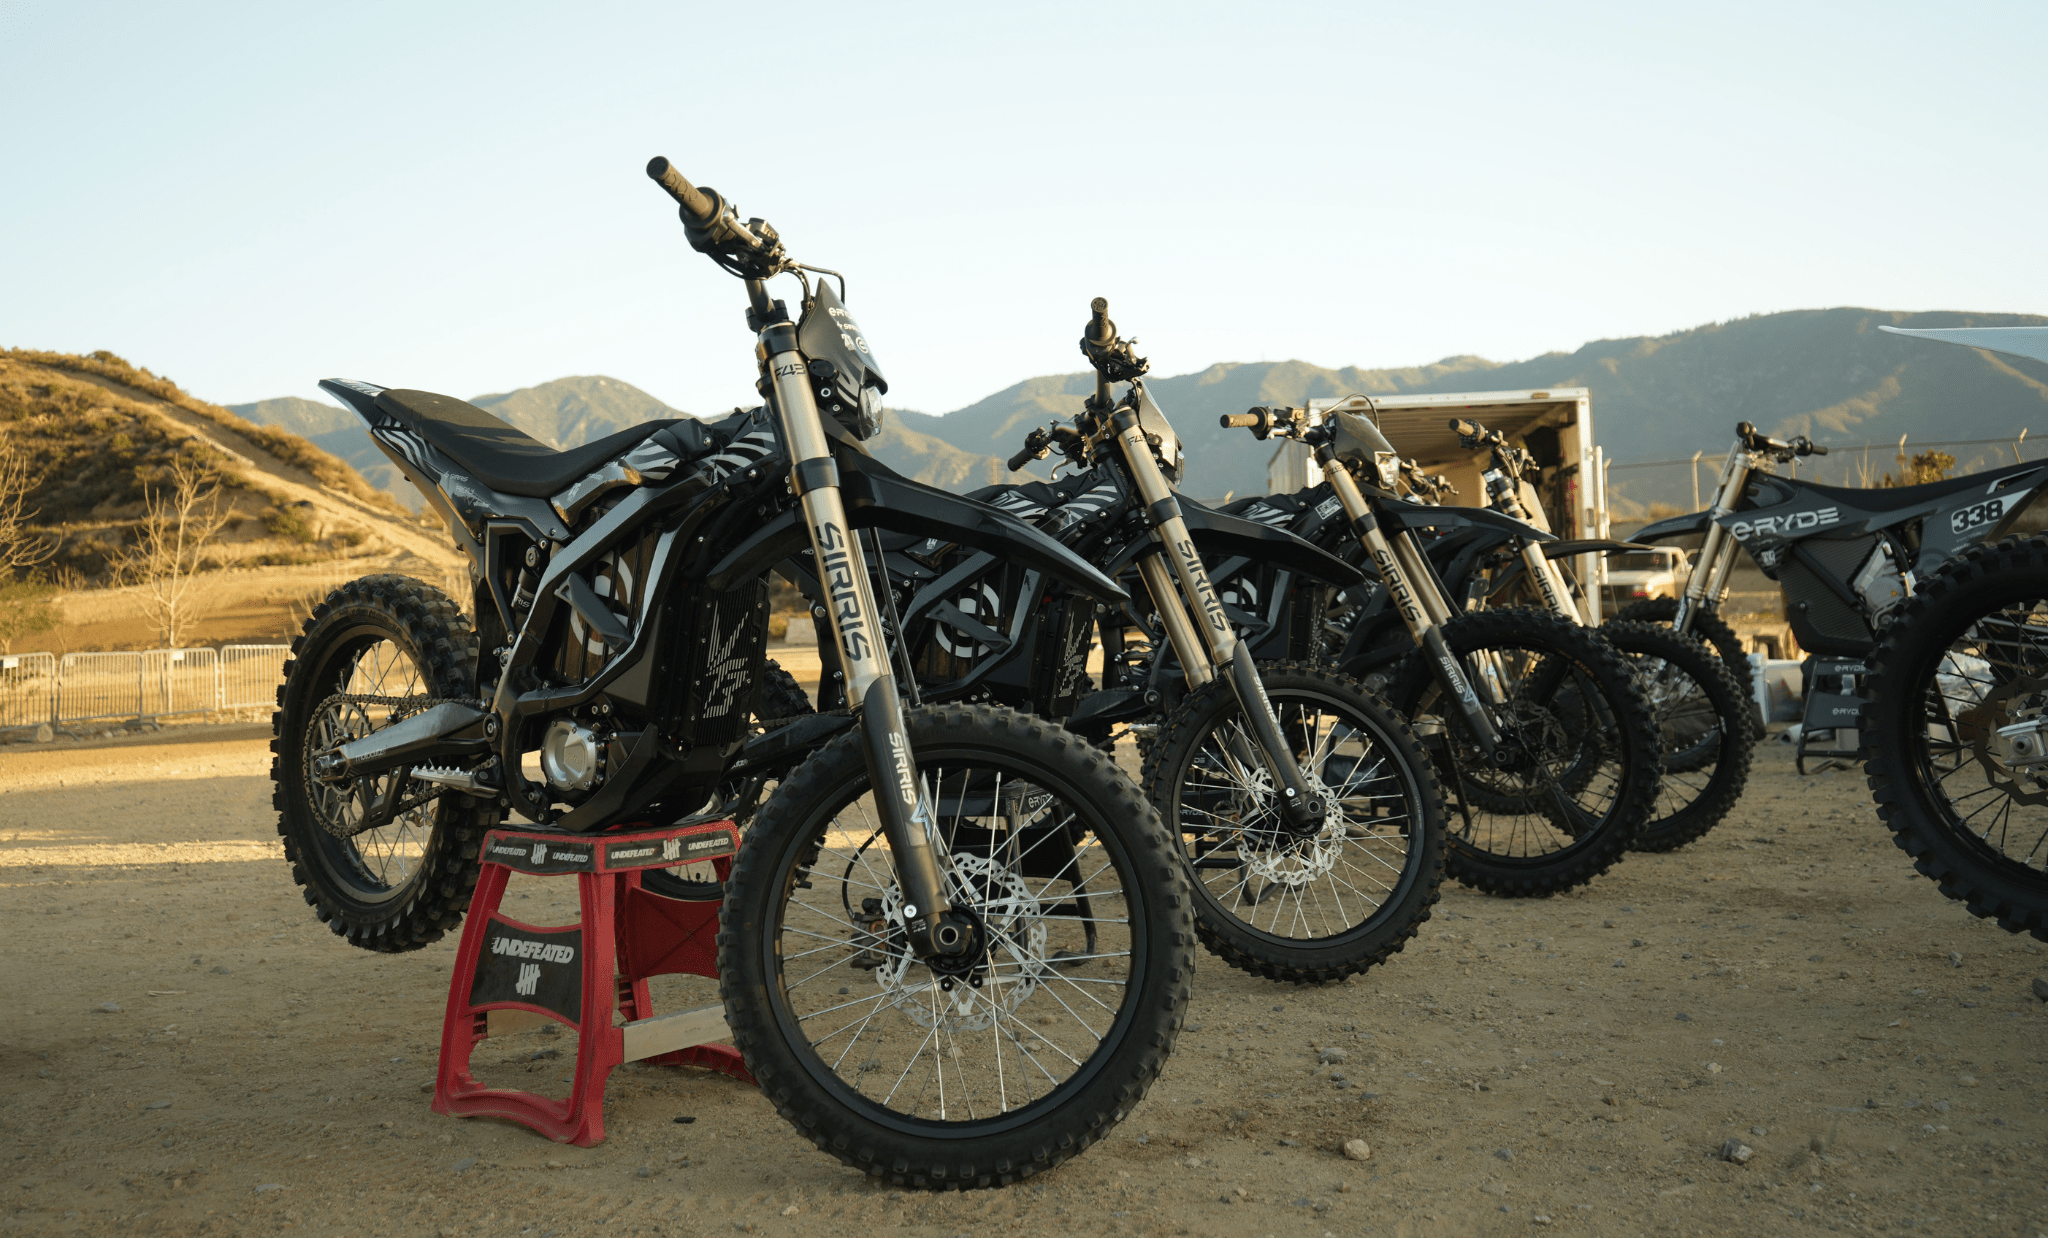
Where to start with a performance-focused platform
The smartest conversions start with a platform that supports the rider’s goals and has clear support options.
To explore a performance-focused base bike and plan your path, start with:
If you’re considering a street-legal build, it’s worth getting guidance early, before buying parts that may not match your state requirements. Reach out through contact Ventus Bikes USA to sanity-check your plan, especially around documentation and equipment priorities.
The practical street-legal upgrade checklist
Use this as a quick project plan.
Paperwork first
-
Confirm VIN and eligibility with your DMV
-
Confirm MSO/MCO language supports registration
-
Gather bill of sale and any prior title records
Core equipment
-
Headlight (high/low if required)
-
Tail light
-
Brake light with front and rear switches
-
Turn signals if required
-
Mirrors (1–2 depending on state)
-
Horn
-
Plate mount plus plate light
-
Reflectors if required
-
Speedometer if required
Road-safe setup
-
DOT tires if required
-
Brake pads and rotor condition checked
-
Stable wiring and protected routing
-
Fastener and drivetrain inspection
-
Gearing evaluation for your typical road speed
Inspection readiness
-
Test everything twice before inspection day
-
Bring required forms, proof of ownership, and ID
-
Have insurance ready if your state requires it first
This checklist keeps the conversion practical and helps you avoid the most common failure points.
FAQ
Can any electric dirt bike be made street legal?
Not always. The biggest limiter is paperwork and how the bike is classified in your state. Some off-road-only documentation can block registration even if the bike has all the right parts.
Do lights make an electric dirt bike street legal?
Lights help, but they don’t automatically make the bike legal. Many states require specific equipment plus an eligible title path, inspections, and paperwork.
What’s the minimum equipment for street legality?
It depends on your state, but most conversions need a headlight, tail light, brake light, mirror(s), horn, and a secure plate mount. Turn signals, DOT tires, and a speedometer may also be required.
Do you need DOT tires to register?
In many states, yes. Even when not explicitly required, DOT tires can improve pavement behavior and reduce inspection risk.
What’s the biggest reason conversions fail?
Paperwork problems are number one, followed by incomplete wiring for brake lights and signals, missing plate illumination, and equipment that is not compliant with local requirements.
Share:
Electric Trail Bike vs Electric Dirt Bike: What’s the Difference for Riders?